How to Go From a Pattern Draft to a Knitting Pattern You Can Sell
Do you have knitting patterns that you’ve designed but abandoned halfway through the process? If so, you are not alone! I get emails from new designers all the time saying exactly the same thing.
Based on the designers I’ve spoken to about this, I’m going to guess that you’ve knitted your sample, but you’re stuck at one of the following stages:
You have a spreadsheet full of numbers but you haven’t written it up yet
You have scribbled notes on a sheet of paper that only you can decode (This is a big one!)
You have a rough outline of the pattern in a document, but haven’t taken it any further
Wherever you’re starting from today, your pattern will need to go through a significant transformation before it’s ready to sell. This blog post will help you to finally get there.
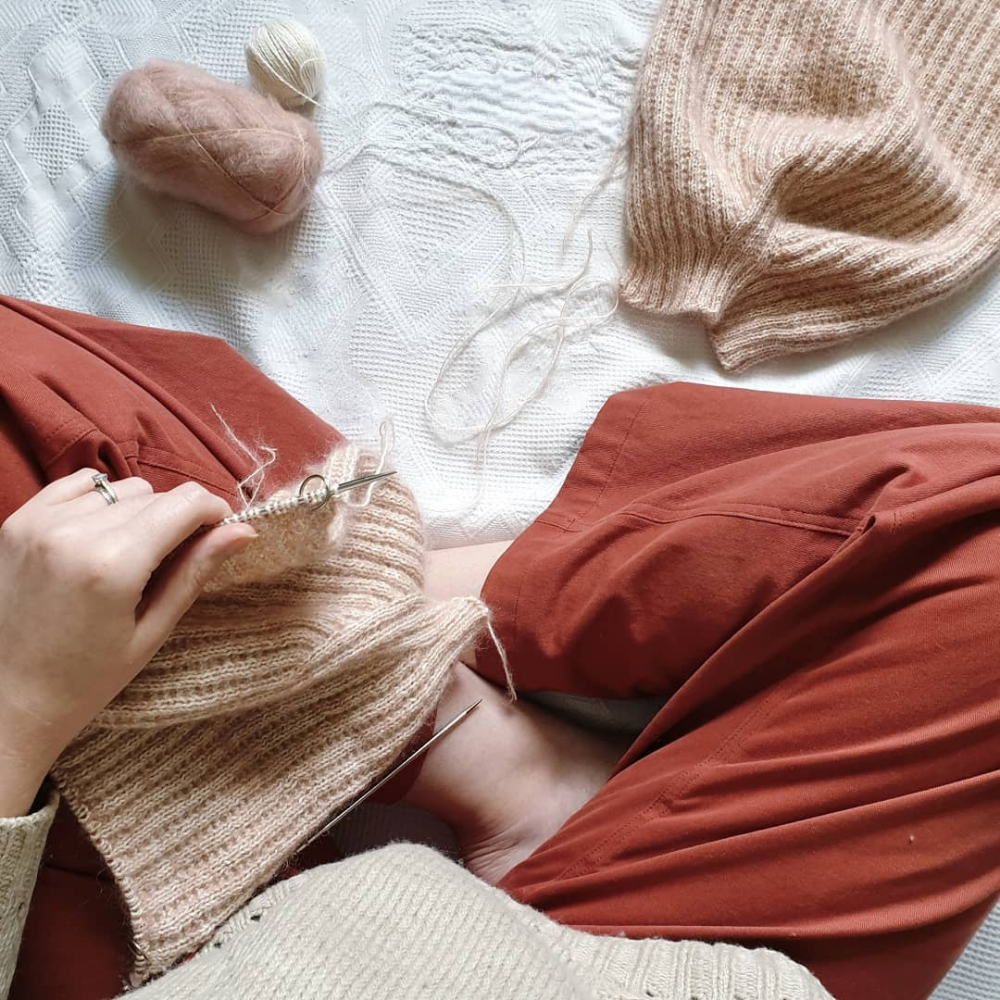
1. Draft your pattern
If you haven’t already drafted your knitting pattern in a document yet, that’s the first thing you should do. If writing your first draft intimidates you, this blog post teaches the basics of writing a knitting pattern. Do your best and then move on. Your pattern will be refined in the next few stages.
2. Check the pattern against your style sheet
A style sheet is a guideline that helps to define how you write your knitting patterns, from the specific language you use to how you phrase your instructions. This helps all of your patterns to be consistent and ensures that makers who enjoyed working from one of your patterns will enjoy working from the rest of them, too.
If you don’t have a style sheet set up yet, that is totally fine. You can start pulling yours together now and then perfect it as you continue to design.
3. Estimate final yarn requirements
If your pattern comes in different sizes, each size will require different amounts of yarn. Based on your sample, you will know how much yarn the sample size needs, however, you need to calculate accurate yarn requirements for all of the sizes before the pattern is ready to sell.
4. Create clear charts
If you’re using a stitch or a motif in your design, you must create a clear and easy-to-follow chart to visually communicate how the stitch/motif is knitted. Clarity and usability are super important here, so don’t use hand-drawn charts. There are lots of affordable chart-making options out there now (some of them are free!) so give them a try.
5. Draw an informative schematic
Like the chart, your pattern schematic should prioritise clarity and usability. The primary purpose of the schematic is to help makers choose the right size to make, as well as help them to block their handknits to the intended measurements. For that reason, I encourage you to include as many finished measurements as possible alongside your schematic. Here are seven tips for drawing beautiful knitting pattern schematics.

6. Get the pattern tech edited
As tempting as it might be, do not skip this part! With the help of a tech editor, you can ensure that your pattern is as correct, concise and easy-to-follow as possible. The tech editor will check over your pattern numbers for mistakes and, depending on who you work with, they may proof-read, check the clarity of your instructions, check the sizing and check the pattern against your style sheet. Check out this beginner’s guide to working with tech editors.
7. Put the pattern through test-knitting
By this stage, your pattern shouldn’t have any major errors in it, so your test knitters will be able to provide feedback on the almost finished pattern. Like a beta test, this stage is more about testing the usability of the pattern than anything else.
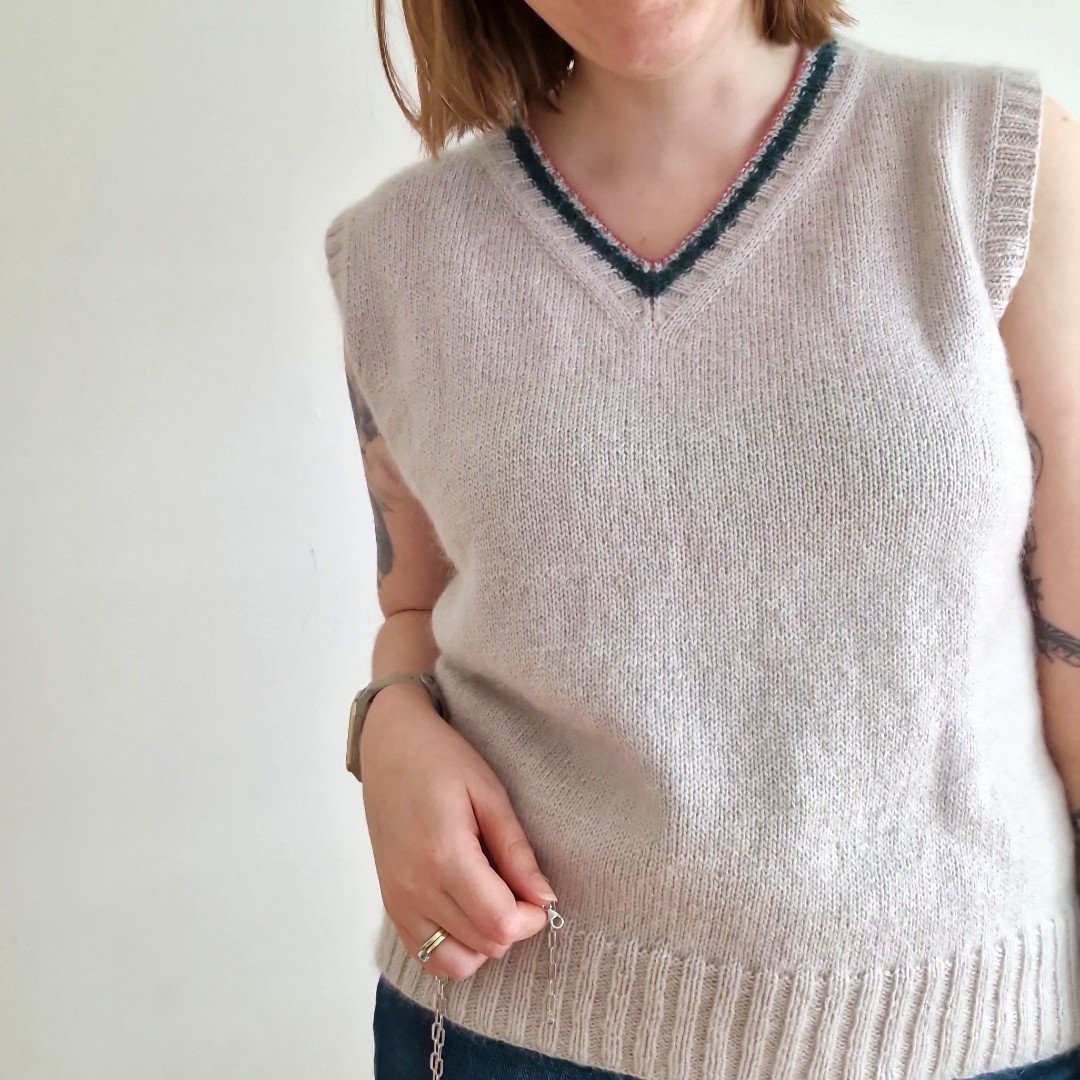
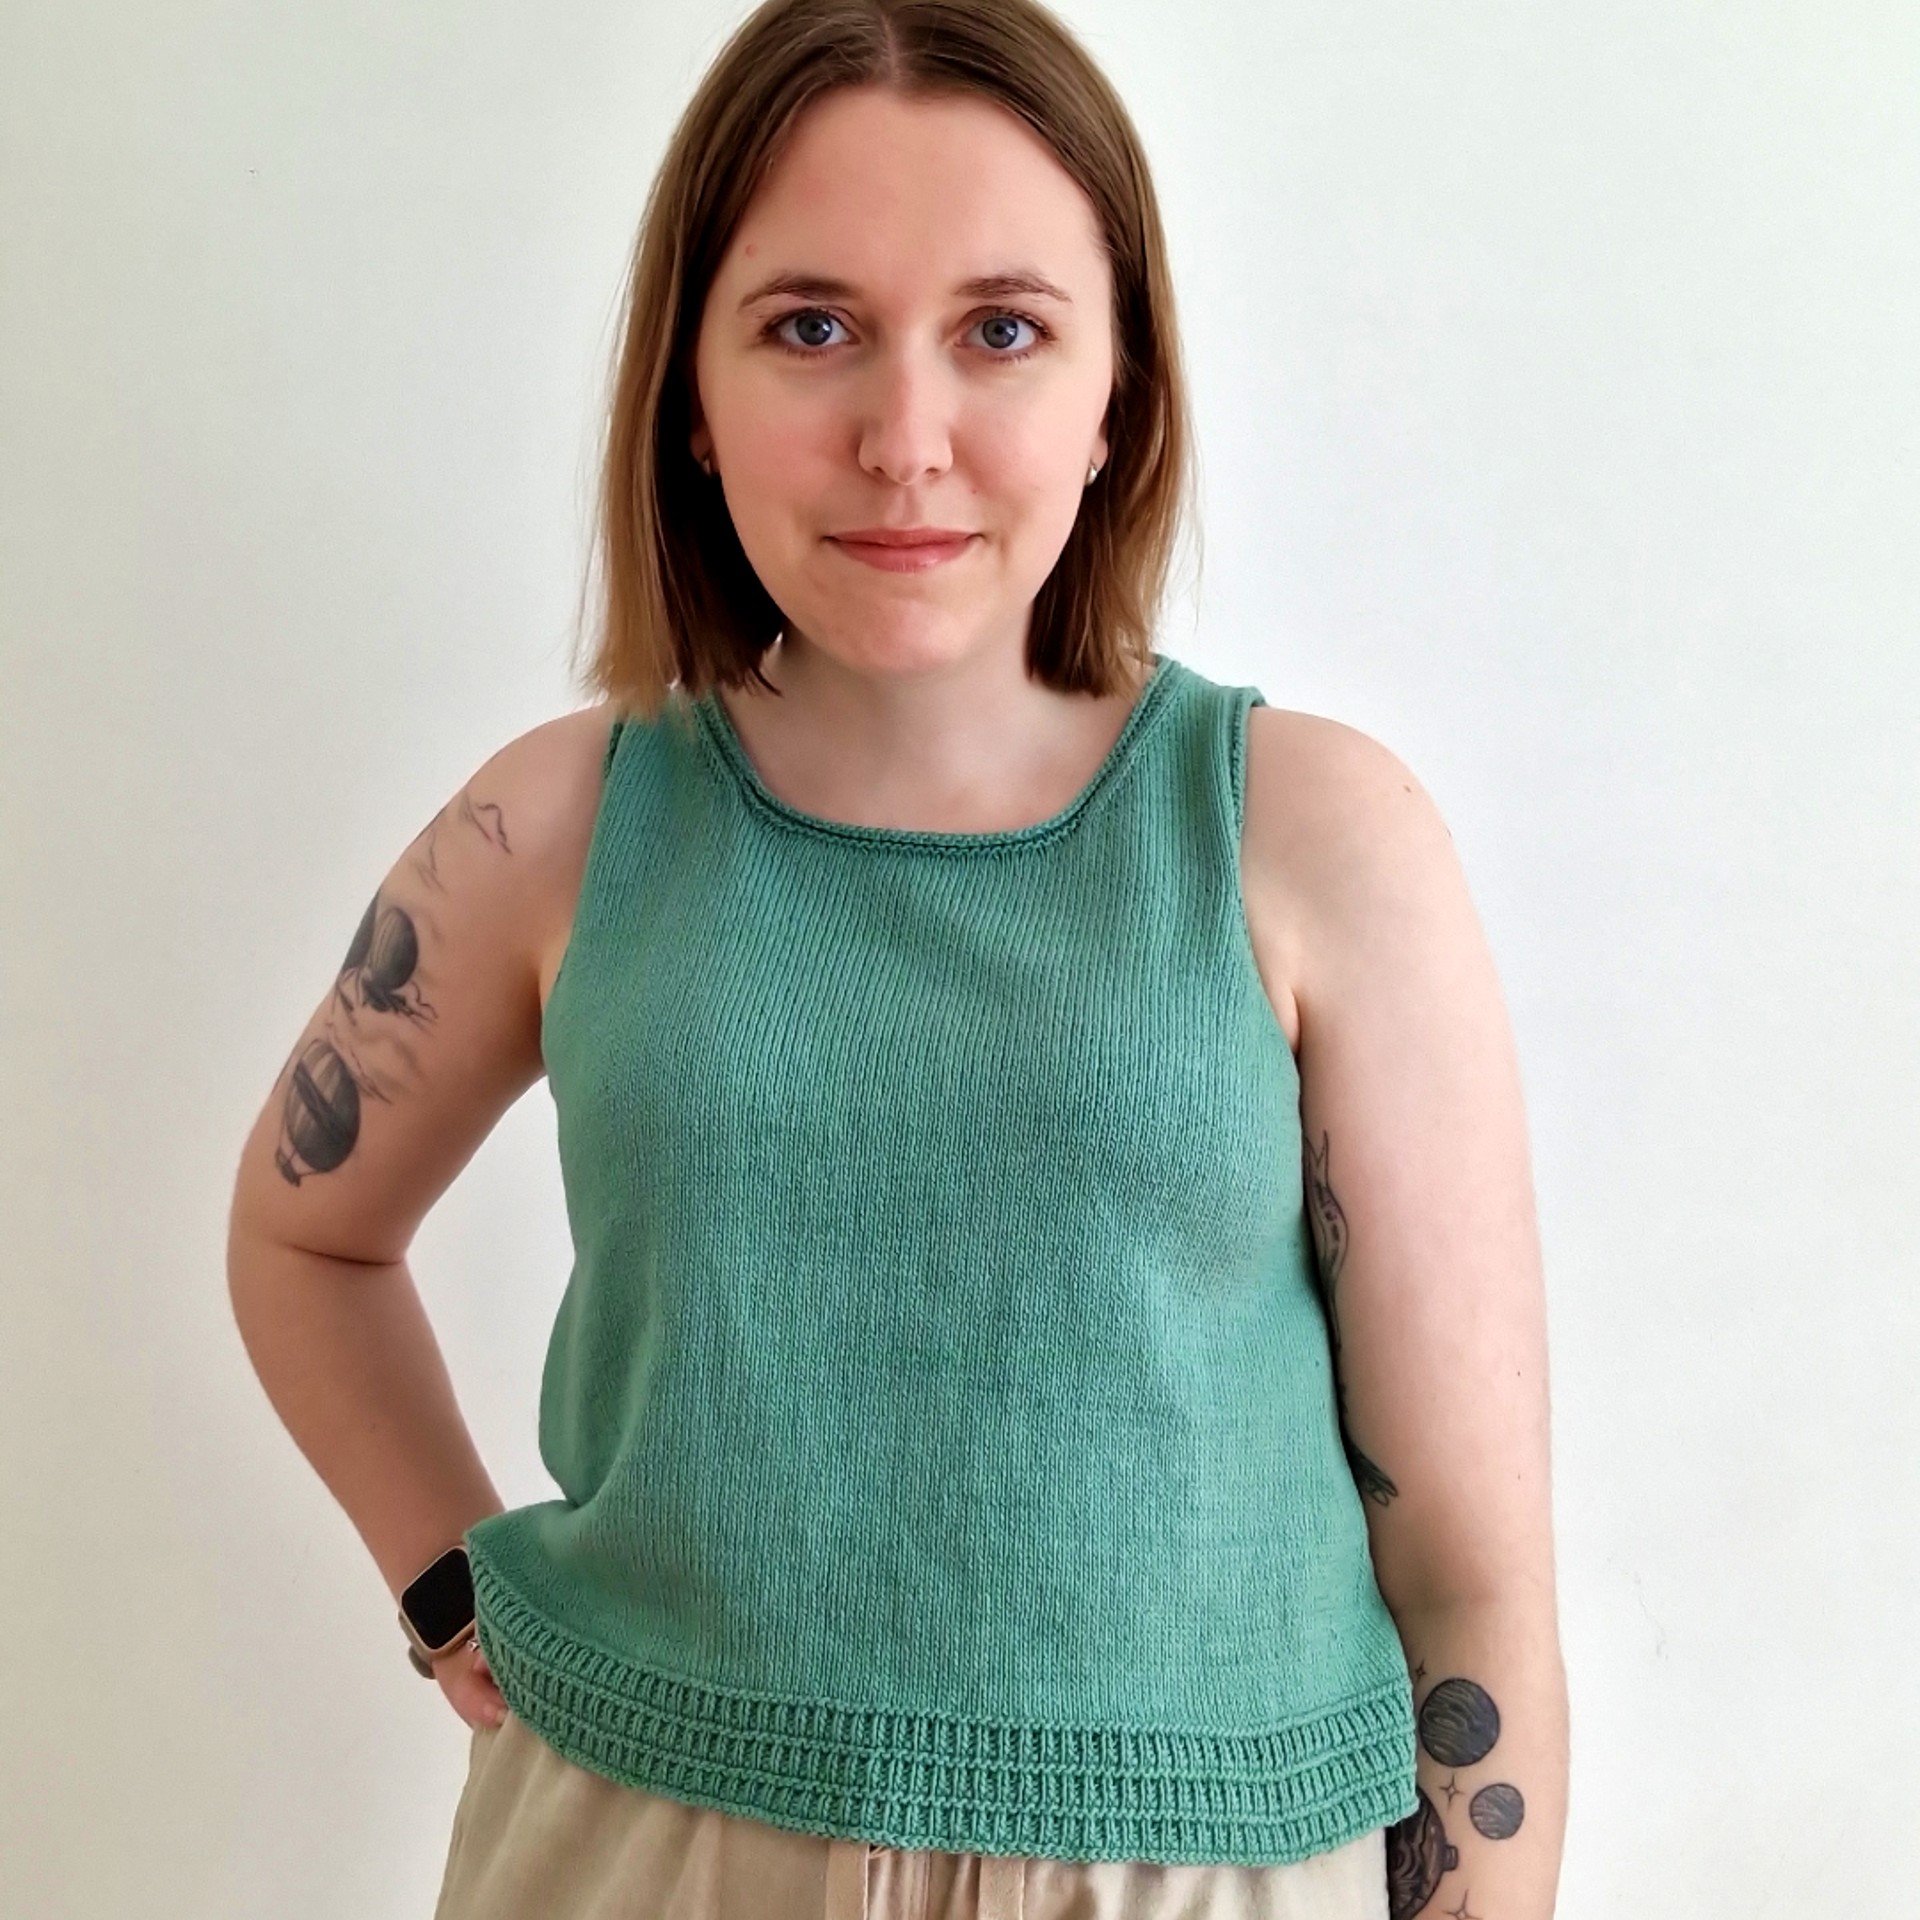
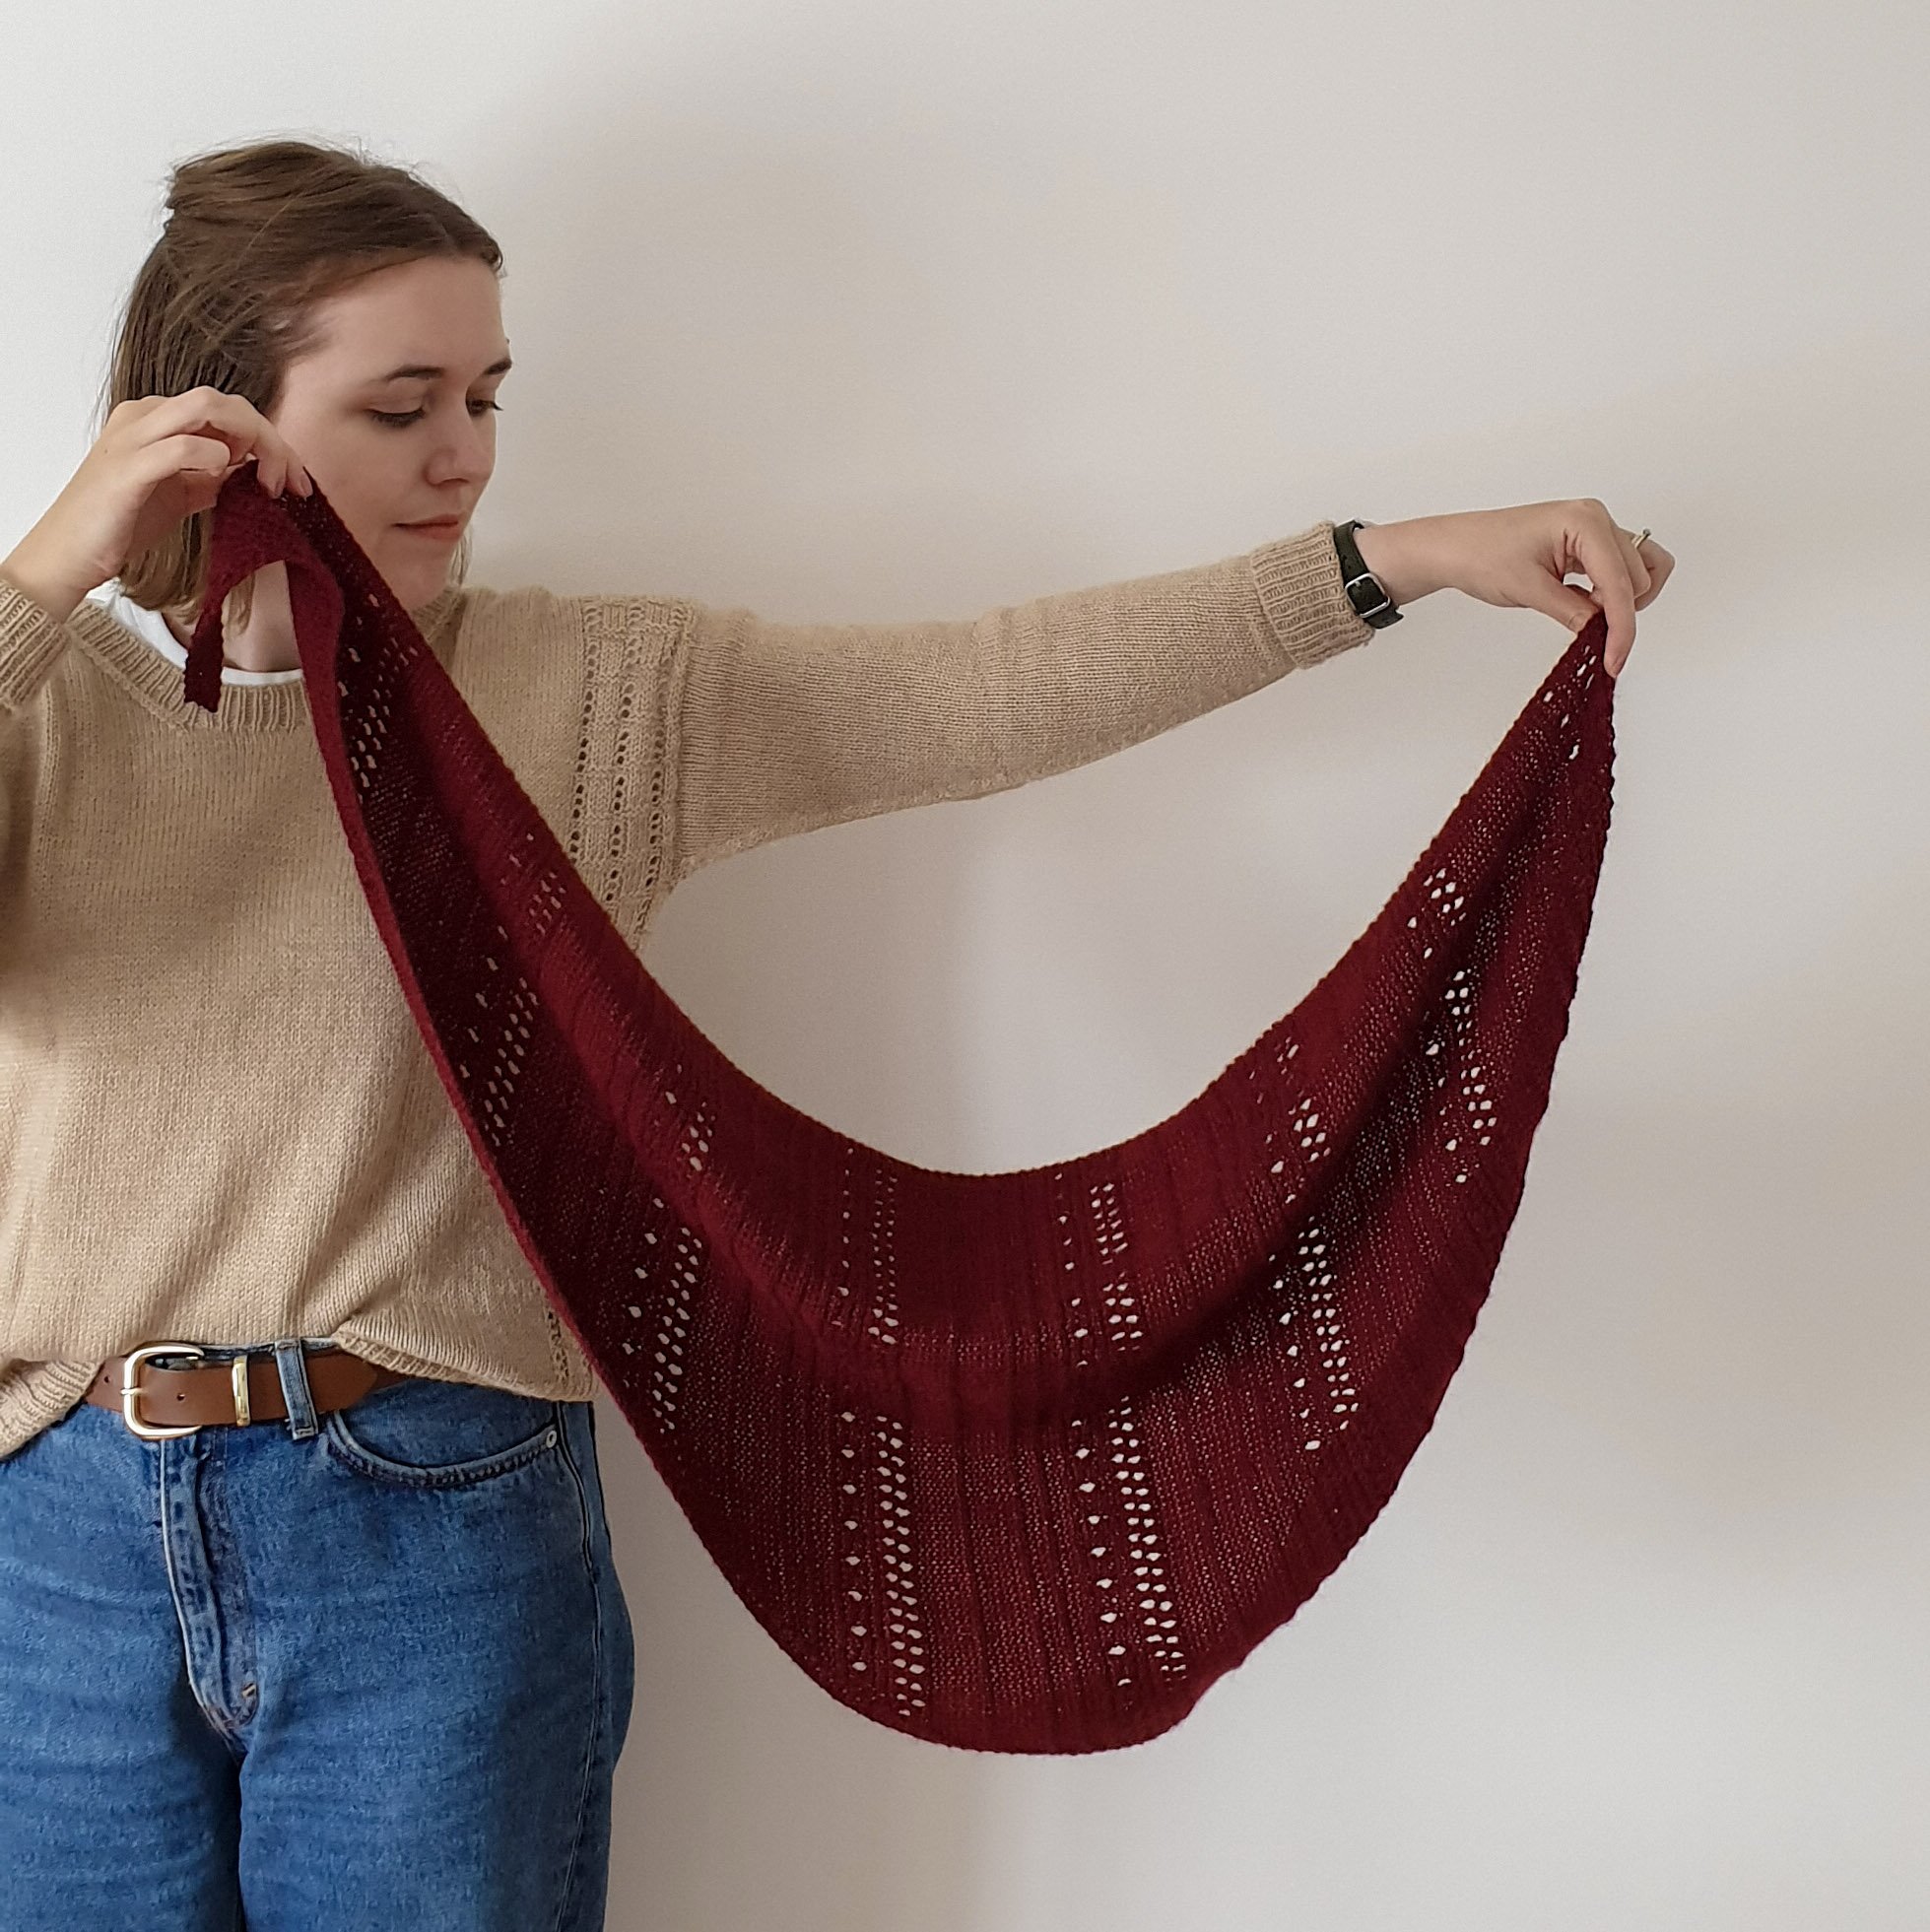
8. Photograph your design
By this point in the pattern process, you may be sick of your design, however, you must make the effort to photograph it beautifully. When you’re selling online, bad photography will kill a pattern launch, even if the pattern itself is fantastic!
Good knitting pattern photography is well-lit - preferably with natural light. It should also be simple, focusing on the design itself, rather than a distracting background or fussy styling. Finally, it should include a mixture of practical images that show off the front, back, side and details of your design as well as images that set the mood.
9. Prepare the pattern as a PDF
Hooray! You’ve reached the final step. Before your knitting pattern can be put up for sale, it should be formatted as a PDF. This PDF should be easy to read (avoid fancy, illegible fonts!) and clearly guide makers through the pattern using headers. Try to separate the graphics and images from the pattern instructions so that, if someone wants to print the pattern, it doesn’t waste ink.
Finish what you started
If you already have fabulous knitting pattern designs that are just waiting to be published, it’s time to jump back in and finish what you started. You’ll be so glad you did!
Where do you get stuck?
If you find yourself getting stuck at a particular stage of the pattern design process, comment below to let me know where you’re having problems. I want to help you to share your amazing designs with the world!