How to Design Well-Fitting Necklines: Round Neck and V-Neck
A neckline can make or break your sweater design.
It is one of the main places that the eye is drawn to since it frames the face. Put an ugly neckline on your sweater, and it will bring the whole design down - no matter how beautiful the rest of it is.
It’s not just the aesthetics, either. Necklines have a big influence on how a garment fits. Mess up the neck width or depth, and you’ll be dealing with a number of fit issues.
In this blog post, I’ll be showing you how to design a well-fitting neckline and cover the most popular necklines I see used in knitting patterns today: the round neck and the V-neck.
The beauty of these classic necklines is that you can use them in their simplest form, or you can jazz them up by adding a placket or some kind of collar. Once you’ve got a good understanding of these necklines, you can have a lot of fun customising them.
How to Design a Well-Fitting Neckline
It must accommodate the head
This tip might feel a little obvious, however, I encountered this problem a few too many times as a knitwear design student...!
Your neckline must be large enough to actually put the head through.
As a rule of thumb, the narrower the neckline, the deeper it must be in order to fit the head.
In her book, Knitting Pattern Essentials, Sally Melville shares her “Rule of 10”. If the neck width and the front depth add up to 25.5 cm (10 in) or more, the neckline will fit over an average woman’s head. The exception to this rule is a boat or funnel neck - they can be as small as 20.5 cm (8 in) as long as the bind-off is stretchy.
Consider the Neckband
When planning the dimensions of your neck, it’s important to decide on the overall width and depth you want once the neckband is added and completed.
However, to achieve these final measurements, you'll need to make some key adjustments. Specifically, you need to add the depth of the neckband to the front neck depth and the width of the neckband on both sides.
If you skip this step and simply knit the neck to your desired finished dimensions without accounting for the neckband, you’ll end up with a neck that’s significantly smaller than intended.
This could make the neck too tight, potentially making it difficult to fit your head through and resulting in a finished look that doesn’t match your initial vision.
Adding a Selvedge Stitch
I used to always add a 'selvedge stitch' at the edges of the neck to make it easier to pick up stitches for the neckband later. However, over time, I’ve found that this step isn't typically necessary, and I rarely do it anymore.
Unless you’re working with very bulky yarn or a particularly loose gauge, the difference it makes is minimal. The stitches along the edge of the neckline are usually sufficient to pick up and knit the neckband without the need for an extra stitch.
That said, if you are concerned about the neckband pick-up affecting the dimensions of your neck, adding an extra selvedge stitch could still be beneficial.
Stop Shaping at the Top of the Neck
When shaping the front neck, it's important to work straight for 1-2.5 cm (0.5-1 in) at the top of the neckline. This allows the neckband to curve smoothly over the shoulders and blend seamlessly into the back neck. This step is especially important in a V-neck design, where you're already working with a sharp angle at the front.
Without this small buffer of straight rows before starting the V-neck shaping, the transition from the more horizontal back neckline to the angled V-neck can feel quite severe. This can result in a neckline that doesn't sit as naturally, potentially even causing the fabric to tug at the shoulder and for the neckband to stand away from the body.
By working this straight section, you ensure that the neckband flows gracefully over the shoulder, allowing it to lie flat and providing a smoother, more natural fit.
How to Design a Round-Neck Sweater
Round neck, crew neck, scoop neck… they’re essentially all the same thing but with varying neck widths and depths.
Round Neck Depth
A high round neck (a crew neck) tends to be 7.5-9 cm (3-3.5 in) deep, whilst a deep round neck (a scoop neck) will be more like 10-11.5cm (4-4.5 in) deep.
Round Neck Width
The neck width of a round-neck sweater can be calculated as a percentage of the body’s cross-back width (from the tip of one shoulder to the other). I often calculate 40-50% of that measurement to get my round neck width. This ensures that the neck width looks balanced on every shoulder width.
From the Bottom-Up
When shaping a neckline from the bottom up, you start by binding off the centre portion of the neck stitches, typically around 30-50% of the total neck width.
After binding off the centre stitches, you shape the remaining stitches on either side to create a smooth curve. Some designers prefer to use stepped bind-offs to achieve this curve, but I find that using decreases provides a cleaner and more consistent finish.
By applying the magic formula, you can precisely calculate your shaping rates to ensure a balanced curve. The formula helps you determine how many decreases to work and how frequently to work them—whether every round or every other round—to achieve the desired neckline shape.
For a shallower curve at the base of the neckline, the magic formula can guide you to work more frequent decreases on both sides of the fabric, creating a gradual, rounded look that mimics the effect of stepped bind-offs but with a seamless and polished result.
From the Top-Down
When shaping a neckline from the top down, the process is reversed. You begin by increasing at the sides of the neck to create the curve. Once the curve is established, you cast on the remaining stitches at the base of the neck, usually about 30-50% of the total neck width.
Again, the magic formula is useful here. It helps you calculate the number of increases needed and their frequency to achieve the desired neckline curve.
By working increases on both the right side and wrong side of the fabric, following the magic formula, you can create a shallow angle at the bottom of the front neck. This approach allows you to avoid using stepped cast-ons while still achieving a smooth, rounded neckline.
Why No Short rows?
In my blog post about How to Shape Top-Down Necklines, I explain why I find short rows to be a limiting method for shaping necklines.
By working necklines flat instead, you gain much more flexibility in creating various neck shapes, such as scoop or V-necks, which aren’t possible with short rows alone.
Design Possibilities
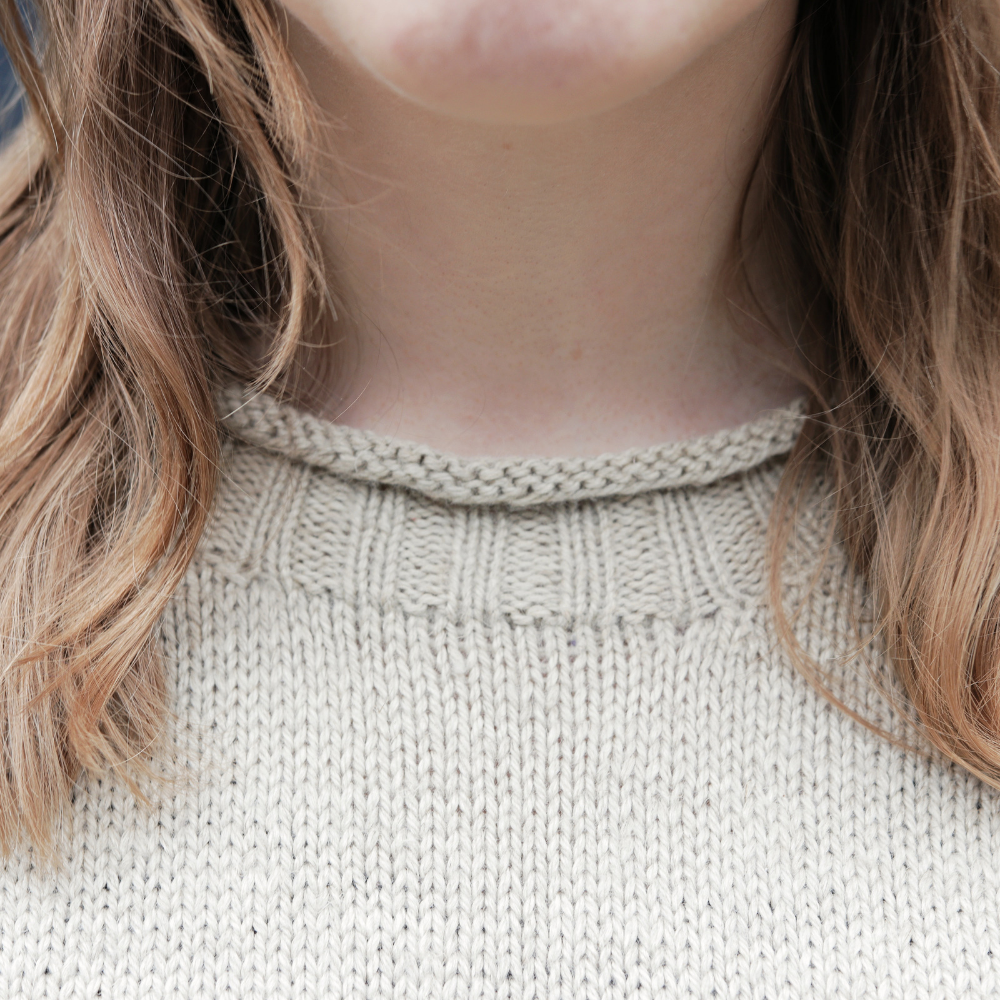
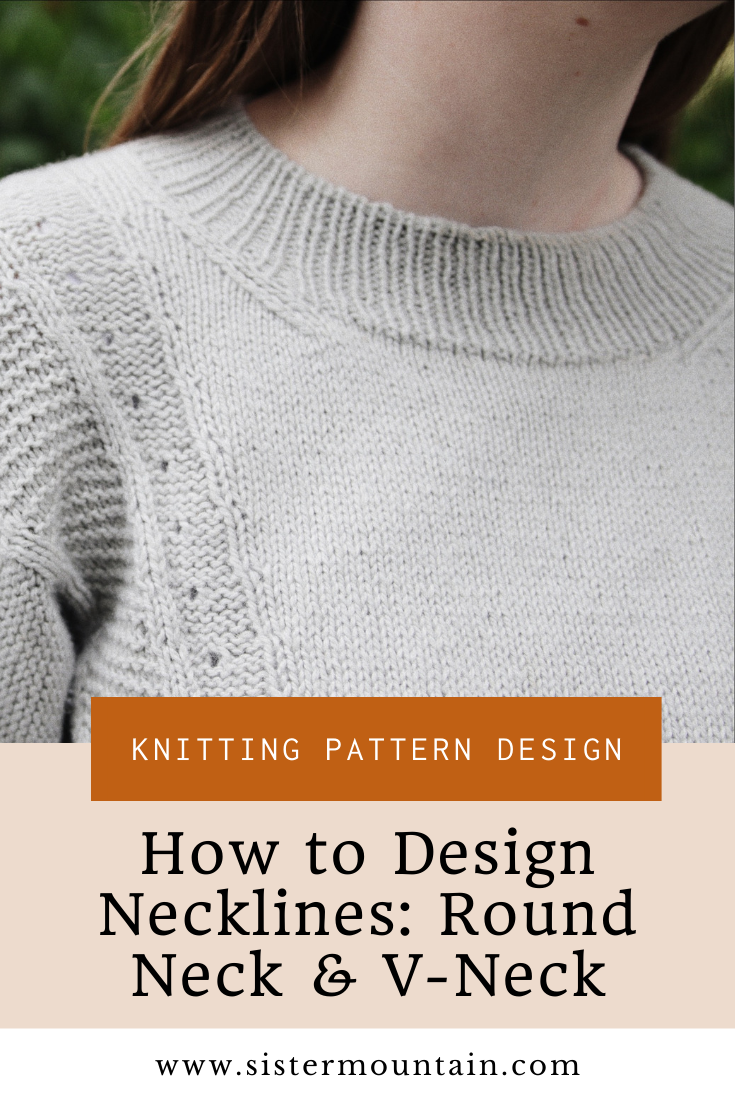
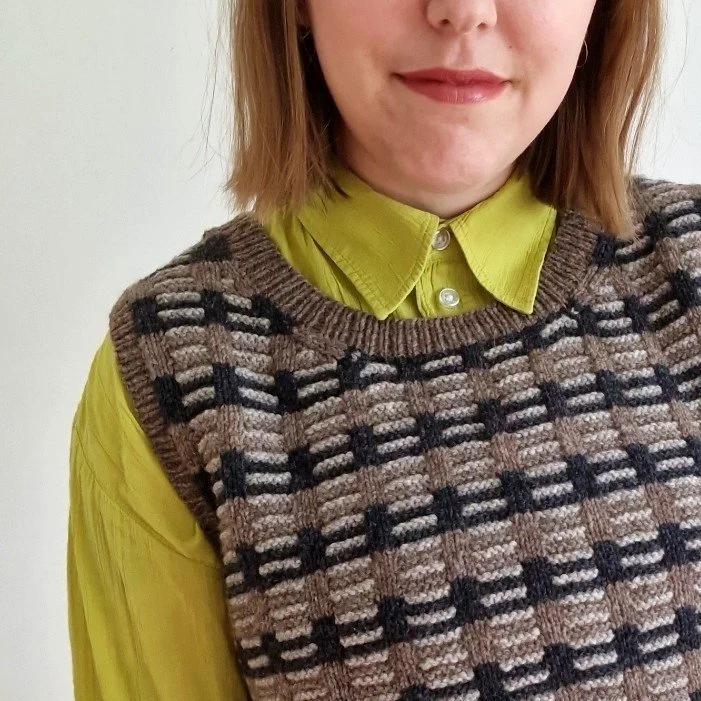
A round neck looks elegant with a simple neck trim. However, there are further options to customise this neckline. Play around by adding a turtleneck, cowl, or collar to give your neckline a different look.
How to Design a V-Neck Sweater
V-Neck Depth
V-necks can be designed with the neck depth of your choice, offering flexibility in how deep or shallow you want the V to be.
While the depth typically doesn’t extend beyond the start of the armhole shaping, deep V-necks are very popular right now, and achieving that look may require going deeper than the armholes. When planning your neck depth, remember that the bottom of the V will be filled in by your neckband, so the visible depth will be shallower than initially planned.
It’s also important to consider that neck and front neck depth are not directly proportional to armhole depth. In some sizes, creating a deep V may result in a front neck depth that is deeper than the armhole depth, while in other sizes, the front neck depth may be less than the armhole depth. This variation is perfectly fine and allows for a consistent style across different sizes.
V-Neck Width
One of my pet hates with deep V-necks is that they can slip off the shoulders if the neck width is too wide. This is particularly annoying with cardigans. To avoid this situation, make your neck width 30-40% of the body’s cross-back width and no wider than 18 cm (7 in).
From the Bottom-Up
If the front of your sweater has an even number of stitches, shaping a V-neck is as simple as splitting your front piece in half and working decreases to reach your required neck width. If it has an odd number of stitches, bind off or work a decrease to remove that central stitch and then start working the decreases.
From the Top-Down
If you are working from the top down, increase on either side of the neck until you reach the correct stitch count and neck depth. It’s as easy as that!
V-Neck Shaping
With a V-neck, you need to achieve a specific neck width at the same time as reaching a set neck depth.
It’s often not as easy as decreasing a stitch at the neck edge on every right-side row until you reach the correct depth. It’s more likely that you will need to do something like “Dec 1 at the neck edge every second row 10 times, then every fourth row 20 times”.
In practice, this instruction will give you a shallower diagonal at the bottom of the V and a steeper one after that. That’s fine if it’s the shape you want to achieve, but if you want the V to be as straight as possible, you can evenly space the decreases so that the shaping is more consistent.
E.g. *Dec 1 at the neck edge every fourth row 2 times, then on the second row once. Repeat from * 9 more times.
Design Possibilities
A classic neckband on a V-neck pullover will be mitred at the bottom of the V. I love this detail - it looks so tailored and elegant! Other options include adding a shawl collar or making the bands overlap at the bottom.
What About the Back Neck?
Unless you’re doing something fancy, the back neck tends to be very similar, whether you’re working a round neck or a V-neck.
The bottom of the neck is bound off or cast on, depending on whether you’re knitting from the bottom-up or top-down, and the edges of the neck are shaped with increases or decreases for a few rows to create the desired neck width (same as the width for the front neck) and depth (usually 2.5 cm/1 in).
What are your neckline questions?
Do you have any questions about designing necklines? Let me know in the comments below, and I will either answer them in a reply or cover them on the blog later on.
About Clare
Clare started designing knitting patterns back in 2016. Now, she helps others design their own patterns through her blog and online courses. She loves watching her students' confidence grow! Known for simple designs with clever details, Clare is currently enjoying a playful phase with colour. Once a monogamous knitter, she now uses a wheel spinner to choose which of her projects to tackle each evening – because why not add a bit of unpredictability to the mix?


