How to Design and Release Your Own Knitting Patterns: Part 2
I used to design my patterns in a notebook. Now, I tend to use mostly digital methods - although you can often find me testing things out on paper!
How many of you have wanted to design your own knitting patterns, but when you sat down to think about the technical side of putting it together, it felt impossible?
I know exactly how you feel. Less than 18 months ago, I started developing my first knitting pattern and had absolutely NO IDEA what I was doing. I’d knitted for many years and even had a commercial knitwear design degree, but I had no training whatsoever on creating a knitting pattern.
What I discovered is that there are very few resources online to help new designers develop the skills they need to put out a good pattern. I bought several design books and had similar problems. There is a lot of information on how to modify knitting patterns or design your own sweater, but nothing for newbie designers who want to publish knitting patterns in multiple sizes.
Because of this lack of information, I spent a long time analysing what other designers seem to do - trying stuff out and failing; starting again. Through trial and error (and lots of patience), I developed the technical skills I needed to bring my designs to life in multiple sizes. I even had the satisfaction of seeing one of my knitting patterns in print - on the cover of Laine magazine, no less!
Over the coming months, I will share everything that I have learnt so far so that you, too, can bring your knitwear designs to life. We will be tackling everything from yarn estimation to grading to writing down in a format that knitters can actually understand!
In this blog post, I will give you an overview of the technical design process, including planning and writing the pattern, knitting the sample, working with test knitters and having your pattern tech edited. Let’s do this!
How to Write a Knitting Pattern
If you missed the first blog post in this series, you can read about the creative side of design in How to Design and Release Knitting Patterns: Part 1 here.
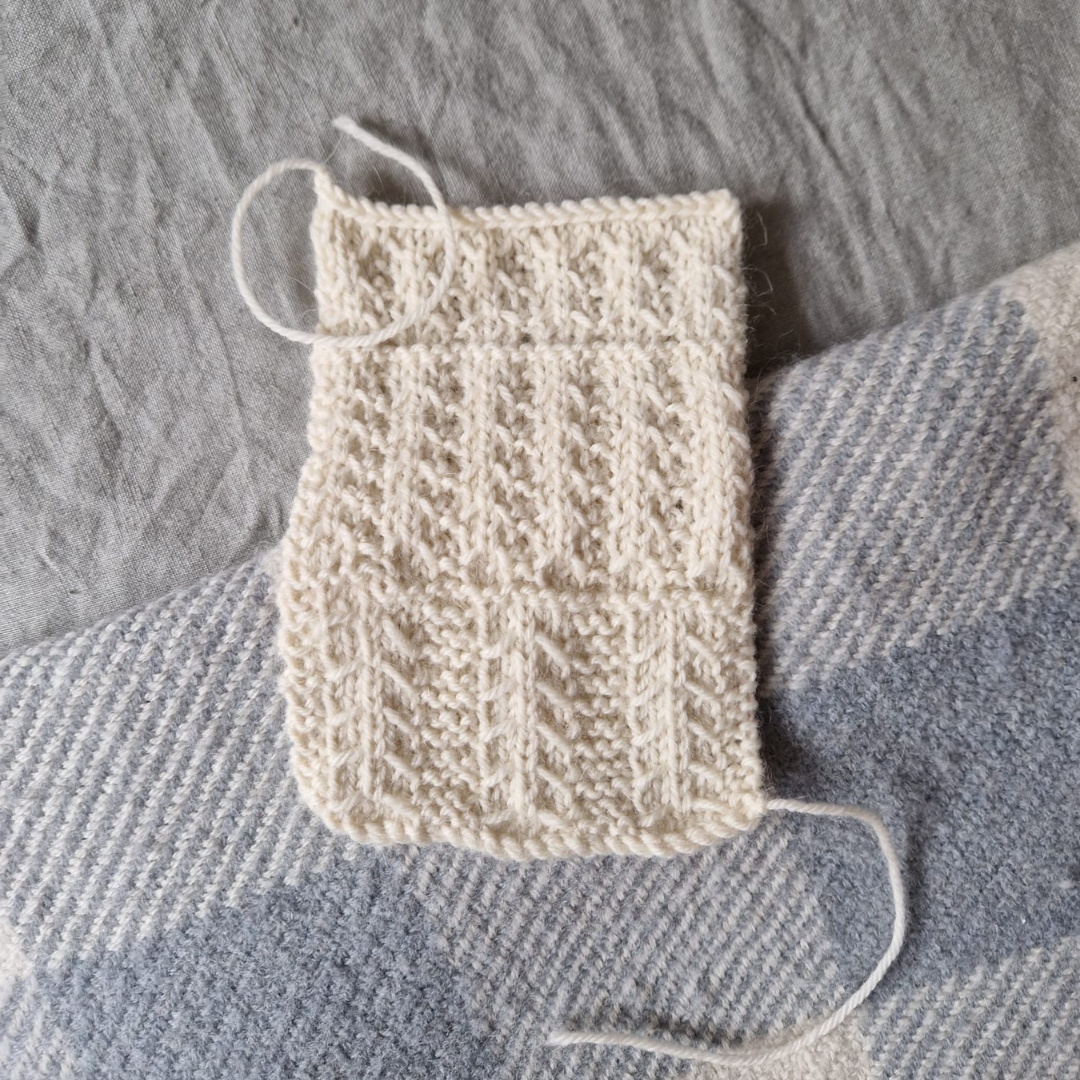
This is the swatch I made for my Bronte Socks.
Final Swatches
After you have decided upon a design, it’s time to make your final swatches in your desired yarn.
Even if I’m making an allover stitch garment, I always make two swatches: one in stockinette and one in the stitch pattern. The stockinette swatch helps me to check that I’m working to a standard gauge, plus it helps knitters of the pattern to make yarn substitutions, should they wish to. The stitch swatch is for gauge purposes and to double check that the fabric looks exactly how you want it to.
They should be nice and large - at least 6 inches square - and blocked properly, so that you can ensure gauge accuracy and see how the fabric will behave on a larger scale.
Pattern Spreadsheet
A cheeky glimpse at a new pattern I am working on...
The pattern spreadsheet is where all of the numbers in your knitting pattern will come from.
The first tab in your spreadsheet will deal with general information about the pattern. You should have a section for your stockinette and stitch gauge. You should also create a section of body measurements for the sizes you are designing, displayed in both inches and centimetres.
Using the body measurements chart, create a section for the final garment measurements, adding any negative or positive ease to relevant measurements, e.g. the bust. You can also calculate how many rows or stitches each measurement amounts to using the gauge you have already established.
The second tab in your spreadsheet will help you to build the actual pattern. Think about the steps you would take in order to knit the pattern, e.g. back, front, sleeves, neckband etc. Using your gauge and your garment measurements, calculate the number of stitches to cast on, the number of rows to knit and when to work your shaping. Map out every single step in the pattern in this manner.
Pattern Draft
I like writing my draft this in a Google Doc, as the cloud commenting feature comes in very handy during the test knitting/tech editing stage.
Start by listing the finished measurements, yarn requirements, gauge, recommended needle sizes, notions and anything else that might be helpful to the knitter, then jump straight into the pattern instructions. You might find that you have forgotten to do certain calculations in your pattern spreadsheet, so inevitably, you will sometimes work on the spreadsheet and pattern draft simultaneously.
Try to make the pattern as clear as possible for the knitter, breaking each section down into headings and providing regular stitch counts and measurements to help them check if they are on the right track. Include easy-to-follow finishing instructions and a detailed schematic for them to refer to.
I recommend that you complete the whole pattern draft before you move onto knitting the sample.
If designing and releasing your own knitting patterns feels too difficult or you’re worried about getting stuck early on, you’re not alone.
My free video helps you move past those first mental hurdles and build the confidence to get started, even if you’re brand new to designing knitting patterns.
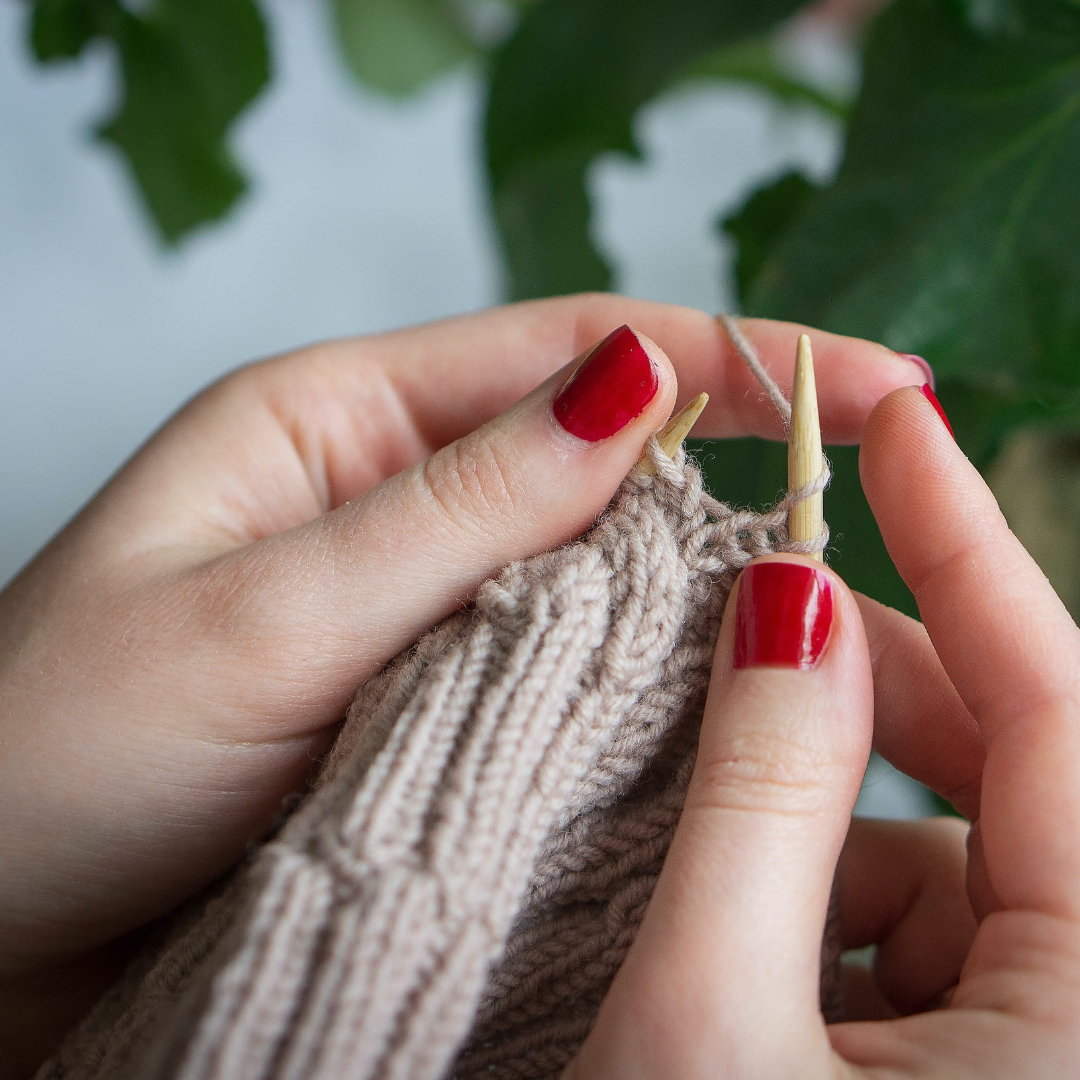
Sample Knitting
This is the fun part! Working from the pattern draft you have written (and finished!), knit the pattern sample. If you’re self-publishing, you can choose any size you want, but if the pattern will be published in a magazine, the publishing company will tell you which sample size to make.
As you work, update the pattern regularly when you spot any errors or notice instructions that need more clarity. You are essentially your first test knitter!
Once you have completed the sample, take a few simple photos and add them to your pattern. Whilst they are not the final photos, you can show them to your test knitters as a guide.
Test Knitting
For many designers, test knitting and tech editing are interchangeable. Some do the test knitting first; some do the tech editing first. When I self-publish my designs, I always test knit first, but when I’m working with magazines, they tend to do the tech editing first.
I have learnt from experience that it is sensible to have two test knitters per size for every pattern. One of your test knitters might have to drop out for some reason, so having two per size is a great backup. Additionally, every knitter has different skill sets, so it’s great to have more than one set of feedback per size. And of course, the more lovely FOs on your Ravelry pattern page, the more patterns you are likely to sell when you publish it!
I’m lucky to have a wonderful group of knitters signed up to my test knitting team, so whenever I have a new pattern to test, I turn to them first. Most of the time, I can find everyone I need on there or through Instagram. If I’m really struggling, there are some Ravelry groups that help designers to find test knitters, such as The Testing Pool.
Hosting Test Knits
I love to hold my test knits on Google Docs. All of my test knitters are given a link to the live document and the ability to leave comments on any part of the pattern. This means that everyone has immediate access to the most up-to-date version of the pattern and can see if someone else has already commented on an error they have spotted too.
I also use Slack for test knits. This is where we can chat amongst ourselves about the pattern and share progress photos. It helps to build a community around your test knit and is a lot less confusing than email threads. I have heard that some designers used Facebook groups for the same purpose.
It is a good idea to give your test knitters a firm deadline to ensure that everyone completes their project on time. I tend to give approximately 4 weeks for accessories and 6 weeks for garments, depending on how time-consuming they are to knit.
Towards the end of the test knit, send your knitters a survey to get their final feedback on the pattern. I also ask them to put together detailed project pages on Ravelry with high-quality photos, so that they’re ready for the pattern release day.
Tech Editing
As I mentioned earlier, tech editing can come before test knitting, but whenever I self-publish patterns, I prefer to have them tech edited after test knitting.
When you submit patterns to magazines, they will provide you with a tech editor that knows their style guidelines back-to-front. However, when you self-publish, you will need to find your own. I was lucky enough to find my tech editor, Nathalie, by chance. We were friends on Instagram and she offered to test knit my first pattern. It turns out that she works as an editor by day and she has tech edited all of my self-published patterns ever since!
If you don’t know anyone who can tech edit your pattern for you, this thread in the Indy Pattern Designer’s Resources group on Ravelry will be very useful.
When my pattern is ready for editing, I share the Google Doc link with Nathalie and she leaves comments on any errors or areas of confusion for me to clear up. The pattern is now ready for release!
Next in this series...
Next month, I will be sharing an overview of the final steps in this process: releasing and publicising your new knitting pattern! This stage is just as important as any of the other stages. As wonderful as it is to create a beautiful knitting pattern, knitters have to know about it in order to buy it! I’ll walk you through everything I do to prepare a pattern for launch.
Homework
In the comments section, let me know: What do you struggle with most when it comes to the technical side of designing knitting patterns? Is there anything holding you back?
Be as specific as you can. I plan to go DEEP into the nuts and bolts of technical design in blog posts throughout 2018, so there is a big chance that I will write a blog post helping you to solve that problem. I can’t wait to hear more from you!